Flaw detection is perhaps the most fundamental machine vision task. Vital to quality control, machine vision allows manufacturers to find contamination, scratches, cracks, blemishes, discoloration, gaps, pits, etc., and is used extensively across a wide range of industries from semiconductors to pharmaceuticals and automotive manufacturing.
Machine vision detects defects invisible to the human eye, far faster and more accurately than humanly possible, and can operate 24/7.
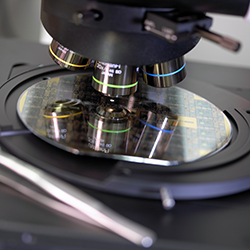
Semiconductor inspection

Paper / print / web inspection
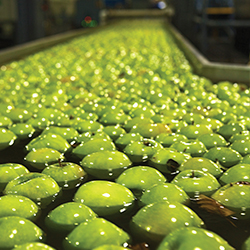
Food inspection
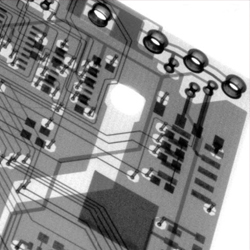
Circuit inspection by X-ray
Flaws in product or the manufacturing process itself are usually random, so machine vision flaw detection algorithms look for pattern changes, changes in color or texture, or for a particular type of connected structure.
Teledyne's high resolution, high sensitivity image sensors and cameras capture high quality images, and further down the imaging chain, our powerful frame grabber/vision processor hardware and advanced vision software tools segment defects from the background and allow quality control system to take action. Our combination of throughput, resolution, dynamic range, and advanced features sets us apart from competitors and provides competitive advantage for our customers, both in imaging components for OEMs and in factory-floor-ready end user solutions. Flaws in product or the manufacturing process itself are usually random, so machine vision flaw detection algorithms look for pattern changes, changes in color or texture, or for a particular type of connected structure.
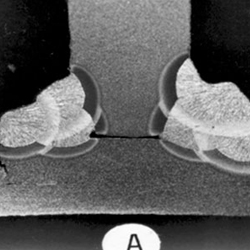
X-ray weld inspection
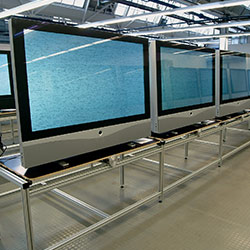
Flat panel glass inspection
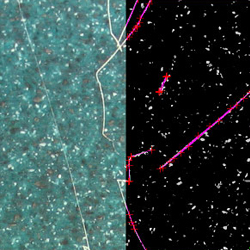
Ceramic tile inspection

Rail inspection