Updating Ladybug Calibration Files
Updating Calibration File
The UpdatorGUI utility is provided in the Ladybug SDK available or our Downloads site.
Updated calibration files are available only by request through Support. The camera’s serial number must be included in the request.
To update a calibration file:
| 1. Open the UpdatorGUI: | |
|
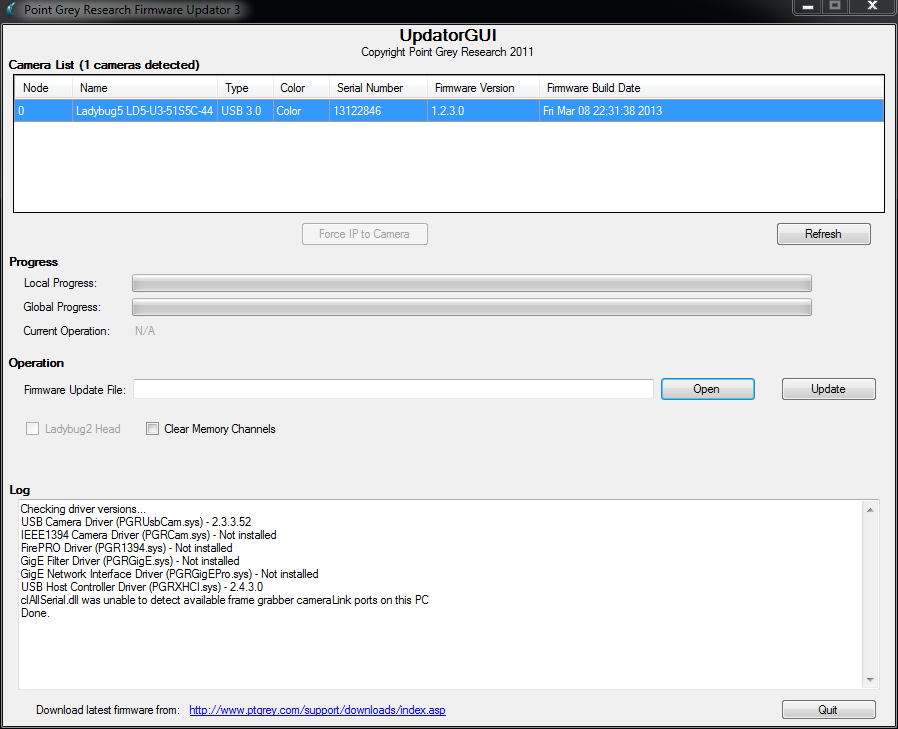
Start Menu→Point Grey Ladybug SDK→UpdatorGUI3 |
|
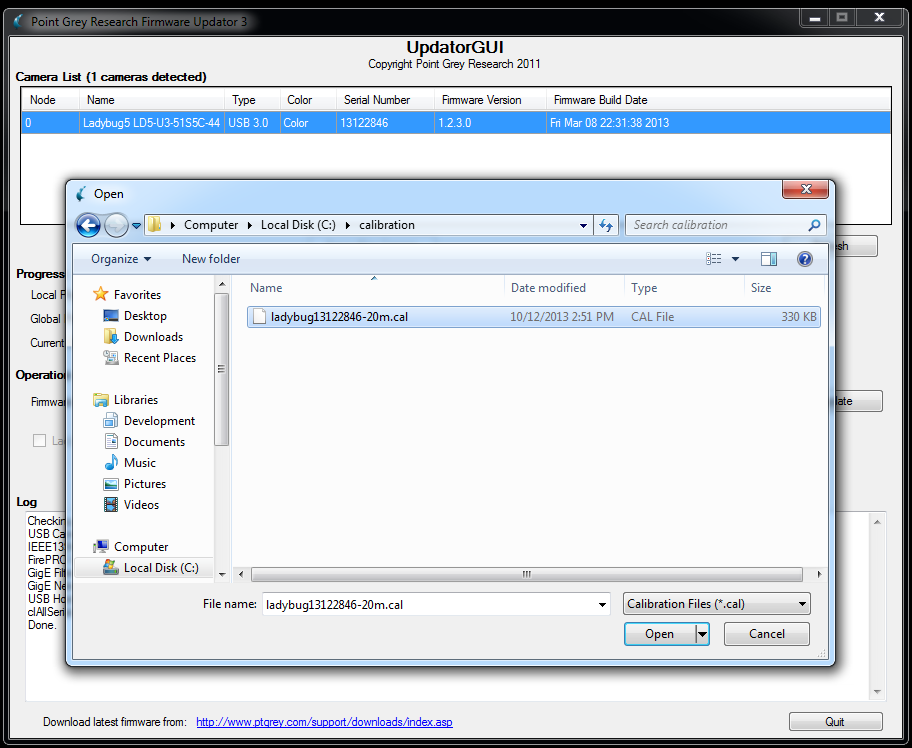
| 2. Select the camera from the list at the top. 3. Click Open to browse for the calibration file. |
|
| 4. Change the File Type to “Calibration Files (*.cal)”.
5. Select the file and click Open. |
|
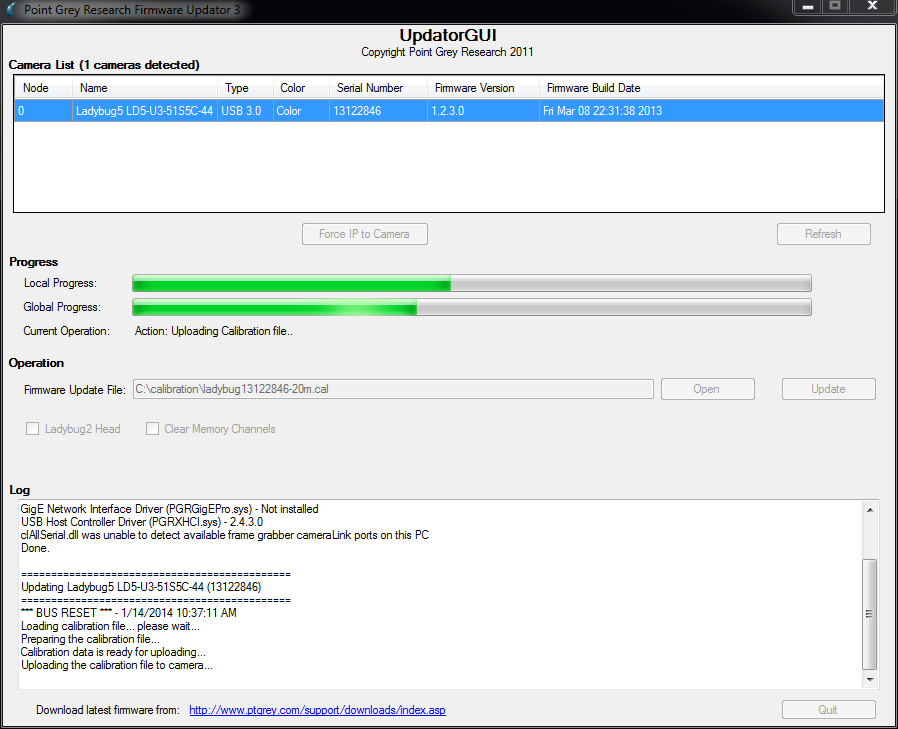
| 6. Click Update.
7. Click Yes to continue. Do not disconnect the camera during the update process. |
|
Re-calibrating Stream Files
Use this option if you want to replace only the calibration data on stream files that you have already recorded from the camera. To do this, run the ladybugStreamCopysample program, which is included with the Ladybug SDK, from a command line interface. This program copies the images from a Ladybug stream file to a new destination stream file. If a calibration file is specified, it is written to the destination file, replacing the calibration file from the source stream. Once you have navigated to the LadybugStreamCopy installation directory (do not run from the Start menu), run the following command from the console:
ladybugStreamCopy SourceFileName OutputFileName CalibrationFileName
For more information and an example showing how to use ladybugStreamCopy, run the program without specifying any parameters.


